I really need to get cracking on the lower interior, but to do that, I need to primer and texture the exterior first. But before that can begin, I need to complete the rear entrance, so knock-knock.........
Remember how I was debating on whether the entrance should be an innie or an outie? Well, I made it both. I started by cutting an opening wide enough for a 25mm base and a thick defensive casement.
I found it easier to build the entrance as a unit, then slip it into place.
No matter how well defended a stronghold may be, sometimes you need to beat a hasty retreat. What do you do if the rear exit is surrounded by the enemy? Flamers, my friends, flamers. I started with a hollow acrylic hemisphere, and an acrylic ball that fit perfectly inside. I then drilled and filed the hemisphere to a more appropriate shape, and drilled the ball to accept a brass nozzle. The nozzle is made from two hollow brass tubes. The smaller one was chucked in a Dremel, then held against a file to get its shape.
This assembly was glued to an angled tube with retaining rings, allowing the nozzle to swing in many directions. Finally, I built a framework to hold the device.
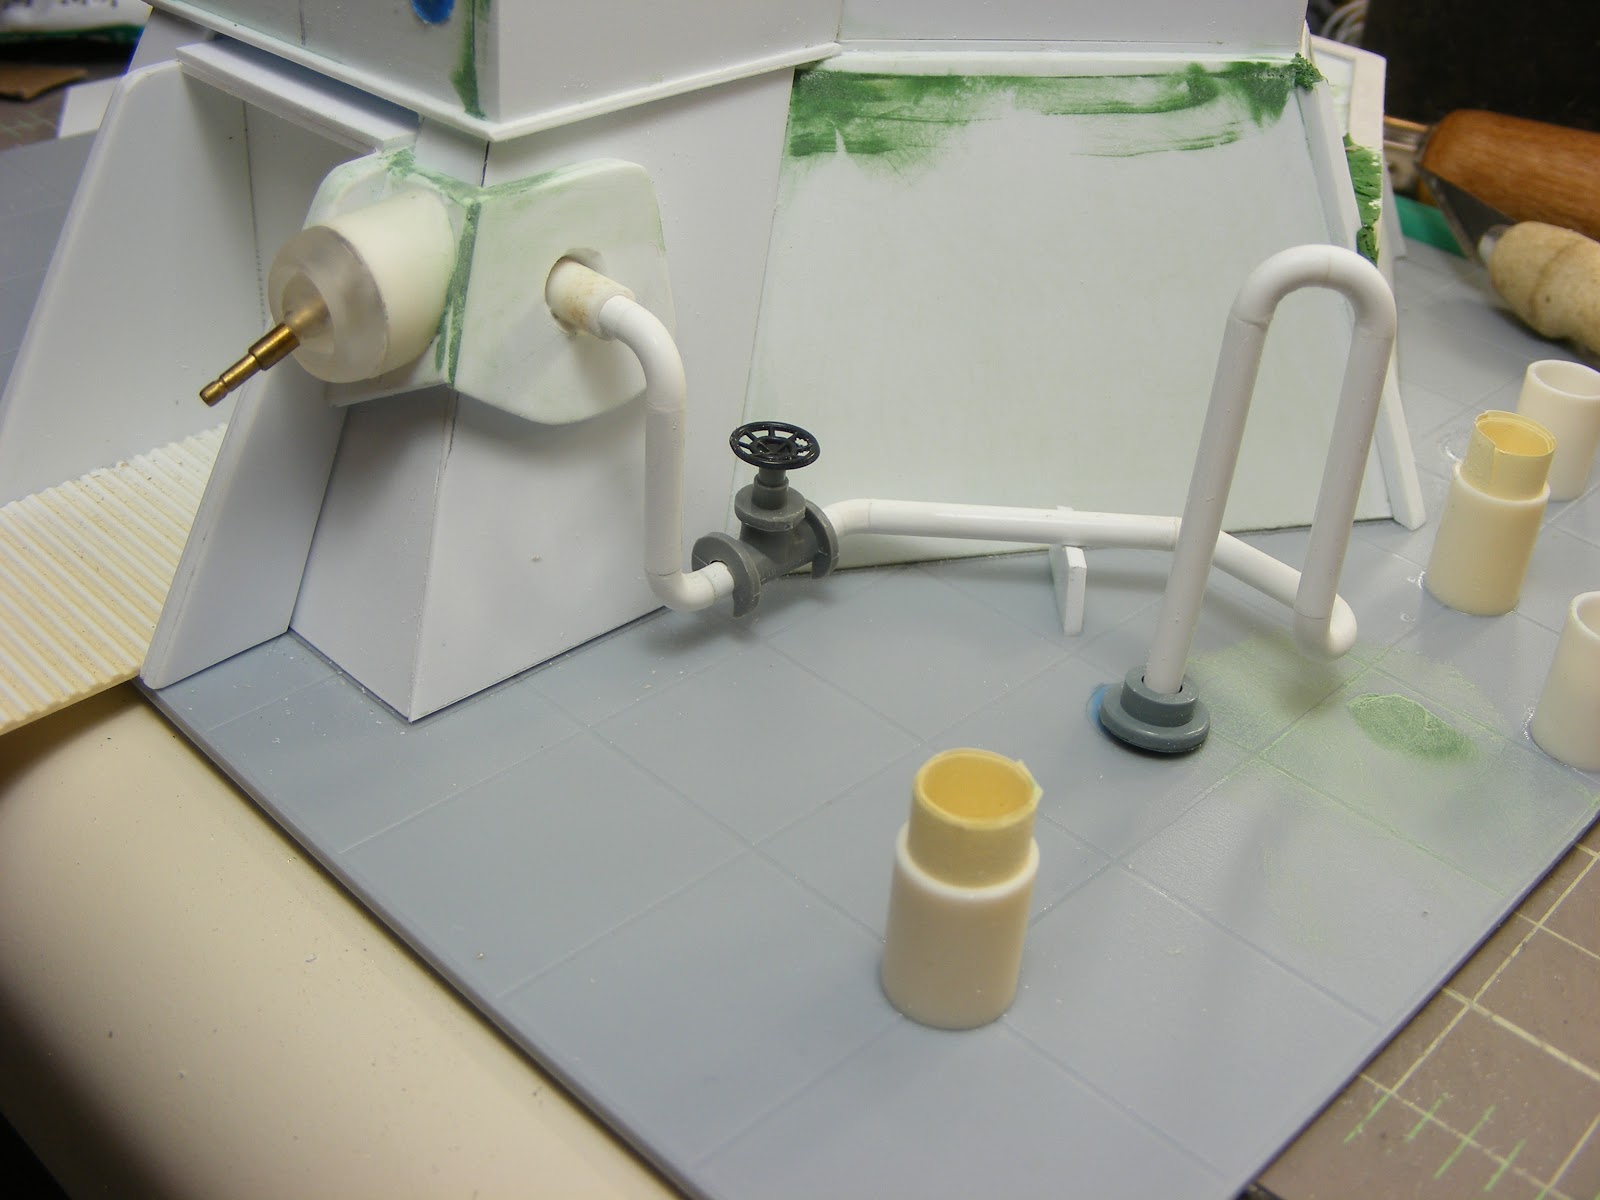
A flamer needs a fuel supply, so I came up with this supply line. Now, I know it is rather exposed, and will even be painted in garish colors. I've even included an exposed shut-off valve, in a vulnerable position. But when you're dealing with a silly game, sometimes you have to be silly.
Now I turned my attention back to the upper levels. I finished all the exterior tile walls, and the interior bar walls, then cut the H-beams down to the level of the walls.
This allowed me to cap the walls with brass channel. I could have done this faster and easier in styrene, but it would not have given as thin a profile as the brass.
Once all the walls and floors were done, I made cardboard templates of the floors. These were then transferred to a sheet of Plastruct Tread Plate, cut out, and glued down to complete the decking.
Now it's starting to really come along. Paint and details left to go. Comments and questions always welcome. Up next, Part 5. Don


No comments:
Post a Comment