What's this, another project!? Crimeny, you haven't finished the other umpteen you've started. I know, I know, it's my
Tragic Flaw. I can never seem to pick just one interest, because so many things are just so damn interesting. But not to worry, this series will not detract (much) from the other projects. The
Sci-Fi Bunker is one I did last summer on the Terragenesis forum, that I didn't echo here. I would now like to rectify that oversight.
I was bitten by the GW bug after seeing all the wonderful Necron and other Warhammer-inspired creations on TerraGenesis, so I decided to try my hand. I've made Defensive/Bunker Positions in the past, and had fun at it, so I'm going to start with a fortified gun emplacement suitable for Space Marines or Imperial Guardsmen.
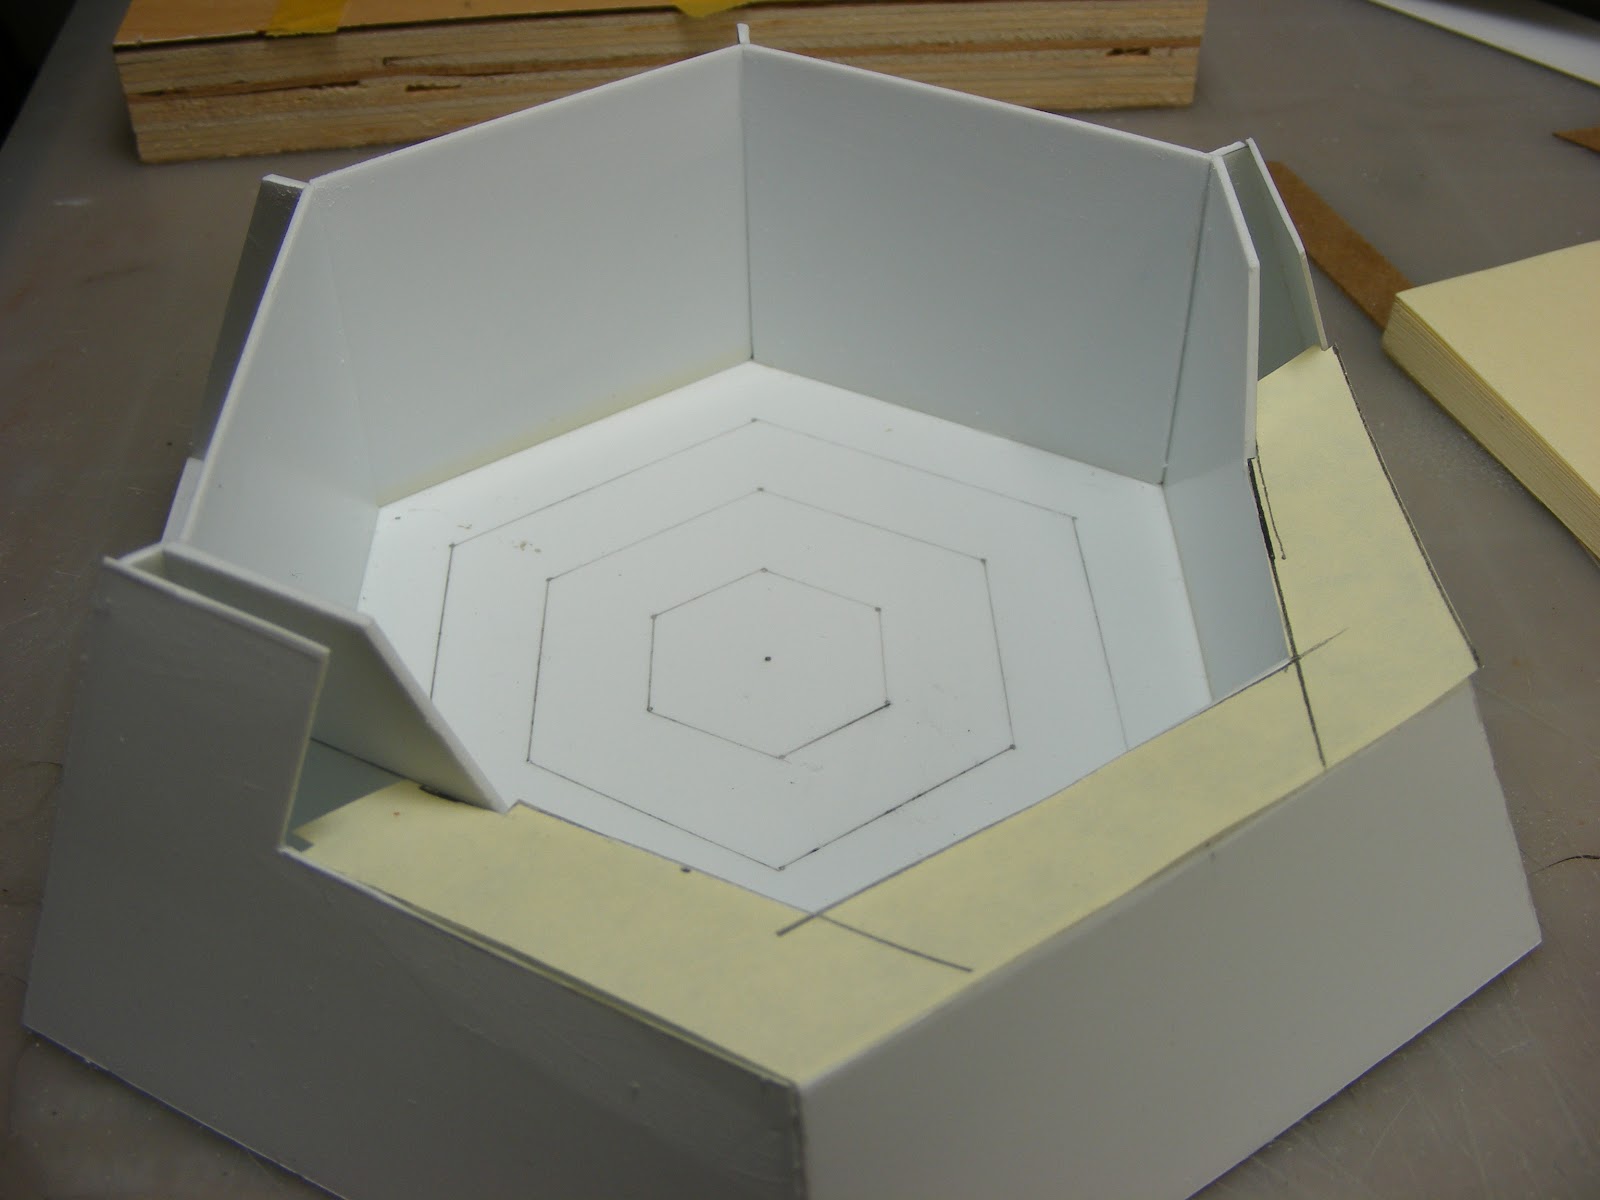
I began with a hexagon of my favorite styrene for the base. I wanted sloping outer walls with vertical interiors, as well as high walls in the back and short ones to the front, so I cut out a set of triangles to define them. Or more properly trapezoids, as the walls would be flat along their tops. I placed them at the corners, lining them up with the center of the hex. Once they were dry, I added the interior walls.
In these two shots, I've added the front outer wall, and one of the side transition walls. Notice the inner transition slants back, while the outer one slants forward. I thought this would make an interesting angle. Interesting? Maybe. Feasible? Unfortunately not. More on this later.
What's this, what's this, you ask? Cardboard Don, cardboard? Yes, it's cardboard, but it's not what you think. I knew the outer walls might prove tricky to fit, so I made them out of cardboard first, tweaked them, then transferred them to styrene. I must admit, I liked it's fit and feel. I mean, I REALLY liked it's fit and feel. I'm beginning to understand why so many people swear by it.
Here is a Post-it template, tweaked from the original cardboard template. I used this to make a second cardboard template, which was tweaked to a third before being transferred to styrene for a piece that was almost, but not quite, exactly an imperfect fit. Well, thank God for sandpaper.
Remember those 'interesting' angles? After repeated attempts with the cardboard, I knew I had to slant the outer wall transition to the rear. Even then, making a cardboard template proved frustrating, so I said screw it and glued on oversize blanks. Hey, I've got a Dremel, I might as well use it.
Entrance to the bunker will be through the rear wall. Here is a mock-up of a possible arrangement, with a 25mm figure base for reference. I am deciding whether to have the hatch inset in the wall, or standing proud of it. Or maybe a combo.
Now I've trimmed most of the excess off the triangular blanks, and began puttying.
Putty has been sanded and edging has been added around the front.
The hexagonal floor cut out of Evergreen Corrugated Siding. This will be finished and added later, so it won't be covered in the texture paint I plan to use on the 'concrete' parts.
I made several mock-ups of an upper story to this bunker. I think this is what I'll go with.
The upper story overhangs the back of the bunker quite a bit, so I had to extend the rear entrance back by about an inch. In the last picture, the back edge of the upper story is directly over the top of the rear entrance.
That's it for Part 1. Remember, this project is completed (nearly so, well......mostly, ummmmm), so additional progress posts will come fast and furious. Don


No comments:
Post a Comment